DIY Home Makeover with Wall Stickers is trending!
Are you dreaming of a fresh look for your home without the hassle of paint or wallpaper? Peel-and-stick wall decals might be the perfect solution! At Confetti Walls, we specialize in high-quality, removable wall stickers that can instantly elevate your space. Whether you’re looking to create a whimsical nursery, a chic living room, or a boho-inspired bedroom, our wall decals offer an easy, affordable, and stylish way to transform your walls.
Why Choose Peel-and-Stick Wall Decals?
1. Easy Application and Removal
Our peel-and-stick decals are incredibly user-friendly. Simply peel off the backing and apply the decal to your wall. If you make a mistake or want to change your design, no problem! Our decals can be easily removed and repositioned without damaging your walls.
2. Endless Design Options
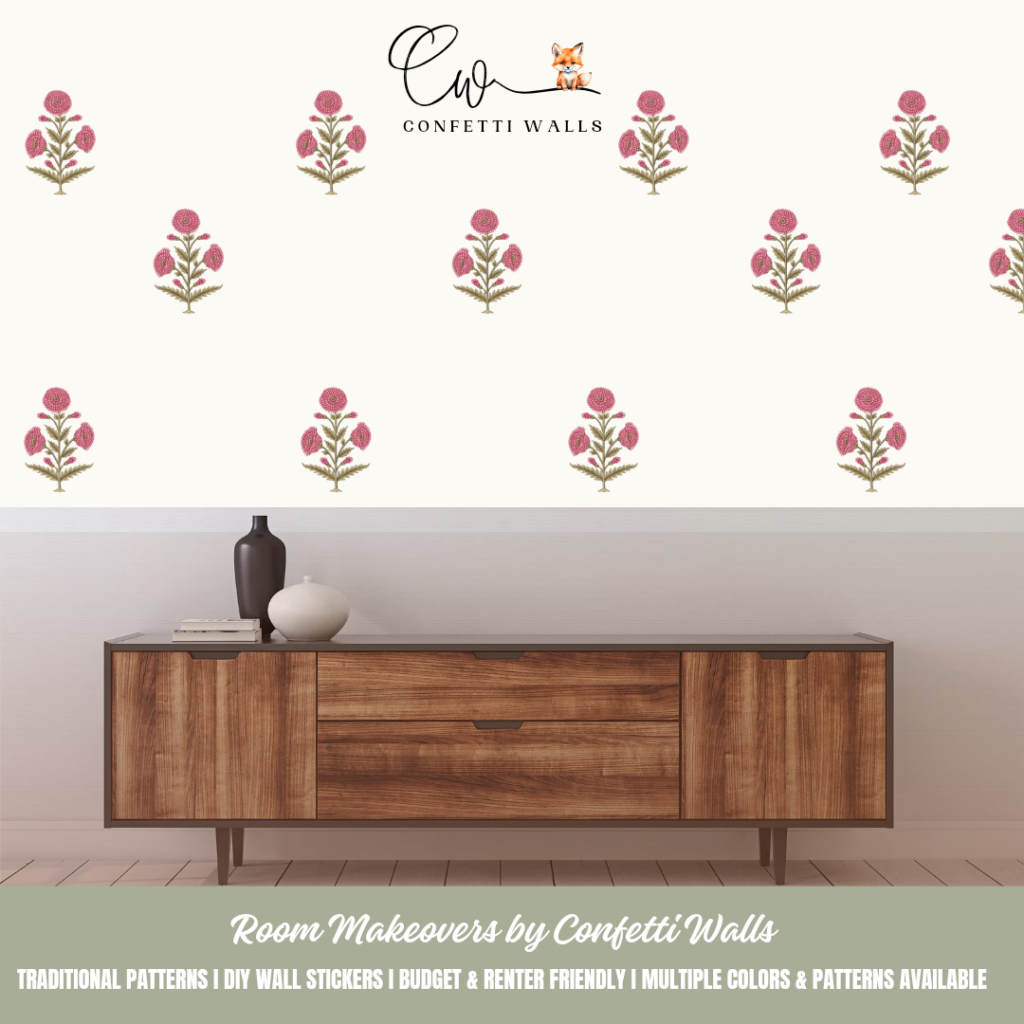
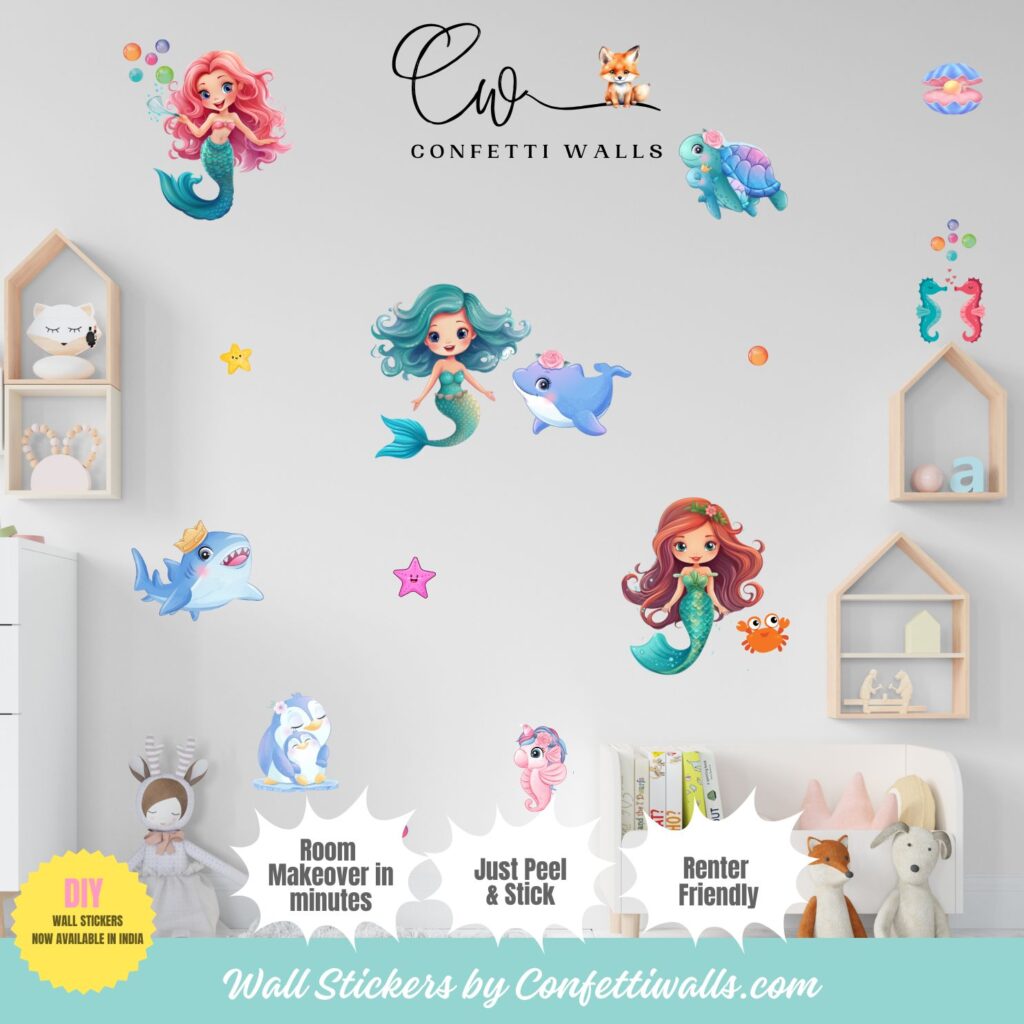
At Confetti Walls, we offer a wide variety of designs to suit every style and room. From playful rainbows and stars for kids’ rooms to elegant florals and geometric patterns for living spaces, our collection has something for everyone.
3. Affordable and Non-Permanent
Wall decals are a cost-effective way to refresh your home decor. Unlike traditional wallpaper or paint, they don’t require a long-term commitment. This makes them perfect for renters or anyone who loves to switch up their decor frequently.

How to Apply Peel-and-Stick Wall Decals
Step 1: Prepare Your Surface
Ensure your wall is clean, dry, and smooth. Wipe it down with a damp cloth to remove any dust or debris. Let it dry completely before applying the decal.
Step 2: Plan Your Design
Before peeling off the backing, plan the placement of your decals. Use a pencil to lightly mark where each piece will go. This will help you visualize the final look and ensure everything is aligned.
Step 3: Peel and Stick
Carefully peel the backing off the decal. Starting from one edge, slowly press the decal onto the wall, smoothing out any bubbles with your hand or a squeegee. If you need to reposition, gently peel the decal off and reapply.
Step 4: Enjoy Your New Space
Step back and admire your work! You’ve just completed a DIY home makeover in a matter of minutes.
Design Ideas for Every Room
1. Kids’ Rooms
Create a magical space for your little ones with our boho rainbow designs, playful animals, or starry night themes. These decals add a touch of whimsy and are perfect for inspiring creativity and imagination.
2. Living Rooms
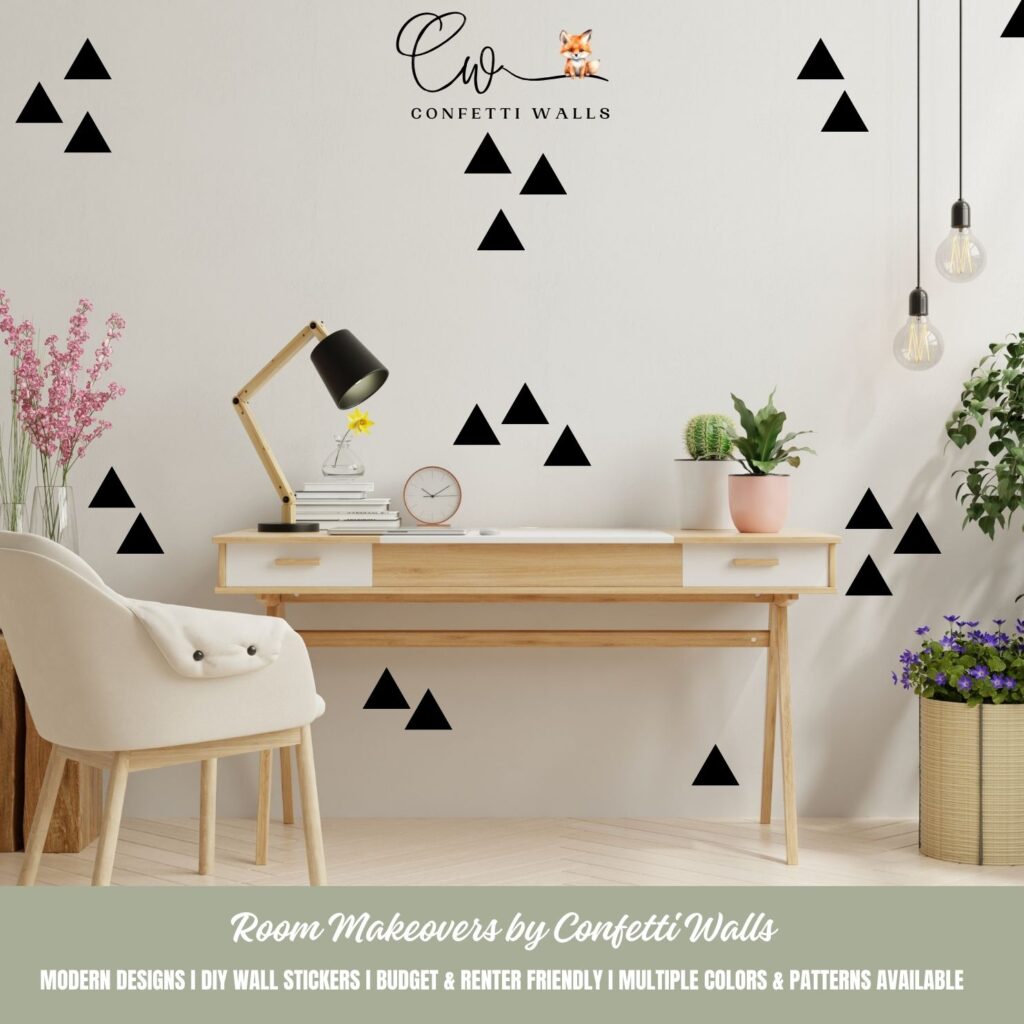
Add sophistication to your living area with elegant floral patterns or modern geometric shapes. These designs can serve as a stunning focal point or complement your existing decor.
3. Bedrooms
Transform your bedroom into a serene retreat with calming nature-inspired decals. Think botanical prints, soothing waves, or celestial motifs that promote relaxation and restful sleep.
4. Home Offices
Boost productivity and creativity in your home office with motivational quotes, abstract designs, or colorful accents. Our decals can help create an inspiring and personalized workspace.
Tips for a Perfect Application
- Smooth Out Bubbles: Use a squeegee or credit card to smooth out any air bubbles for a flawless finish.
- Measure Twice, Stick Once: Ensure precise placement by measuring and marking your wall before applying the decals.
- Mix and Match: Don’t be afraid to combine different decals for a unique and personalized look.
Shop Confetti Walls Today!
Ready to give your home a stylish makeover? Browse our extensive collection of peel-and-stick wall decals at Confetti Walls and find the perfect designs to transform your space. With easy application, affordable prices, and endless design possibilities, our decals are the ultimate solution for DIY home decor.
Visit Confetti Walls to shop now and start your DIY home transformation today!


Hi, this is a comment.
To get started with moderating, editing, and deleting comments, please visit the Comments screen in the dashboard.
Commenter avatars come from Gravatar.